Server Listing configuration
In this article you will see all functionality of plugin and easy instruction how to setup it correctly.
- You need Server Listing Plugin installed to make it work. Here you can learn how to install plugin.
- After correct installation you should see in your admin control panel
3. Click "Options" and go to "Plugin Options".
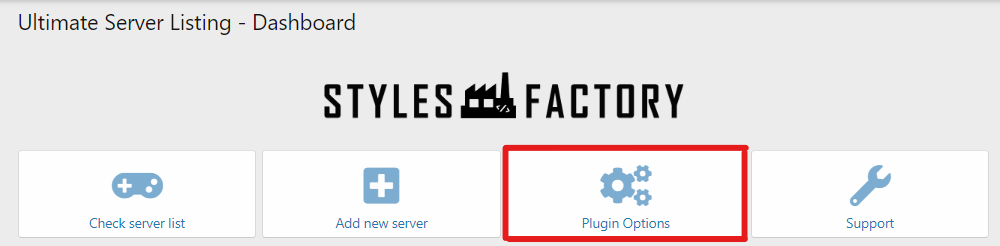
4. Click "Plugin Options" to open all settings for the plugin.
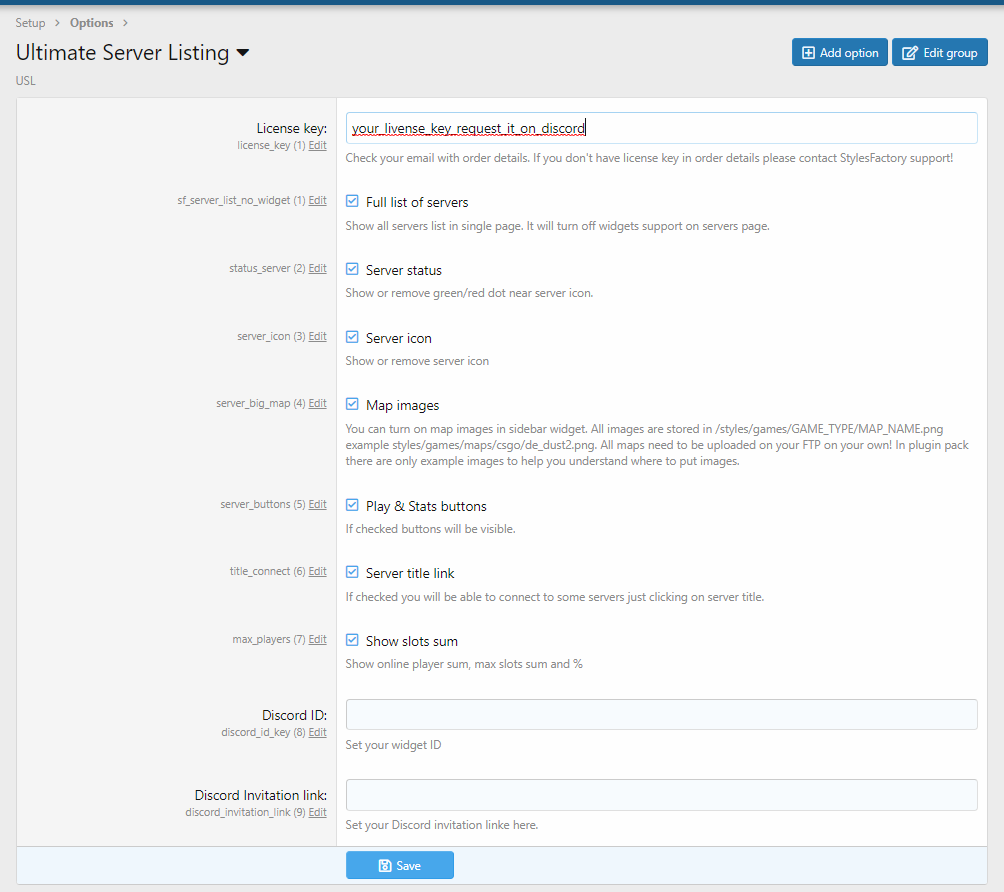
5. Set you license key in "License key" field. You can get license only by becoming Patron and making ticket in our discord channel.
6. All visible options are clearly describe on the plugin settings page.
How to add discord into server list?
- Go into plugin options.

2. Paste your Discord widget ID(2a) and Discord invitation link(2b).

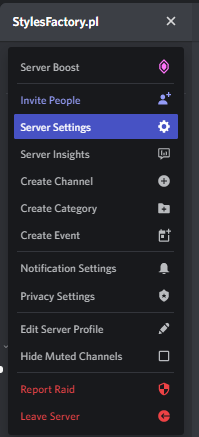
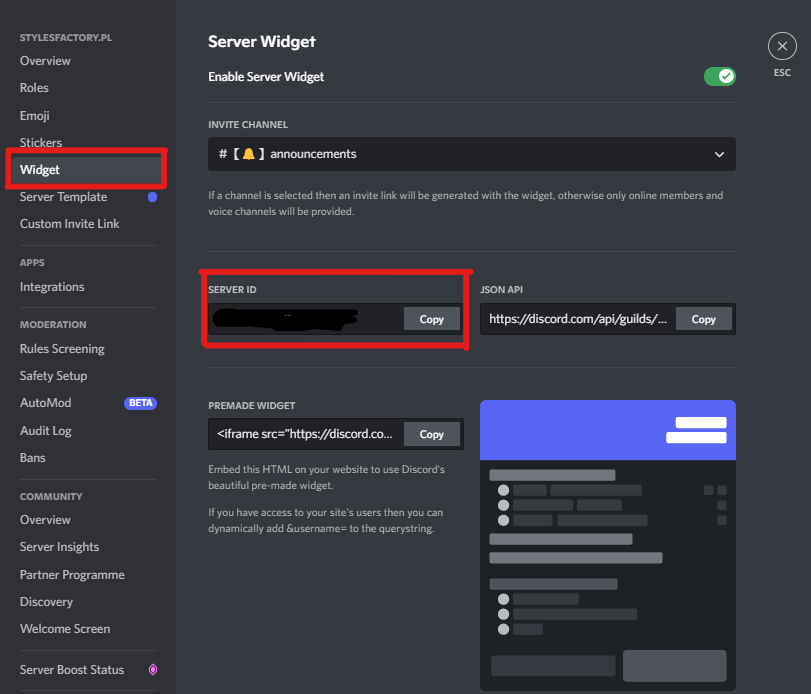
2a. How to get Widget Discord Server ID?
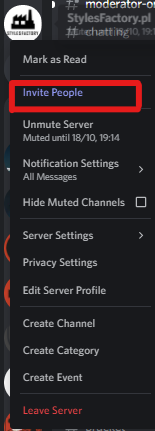
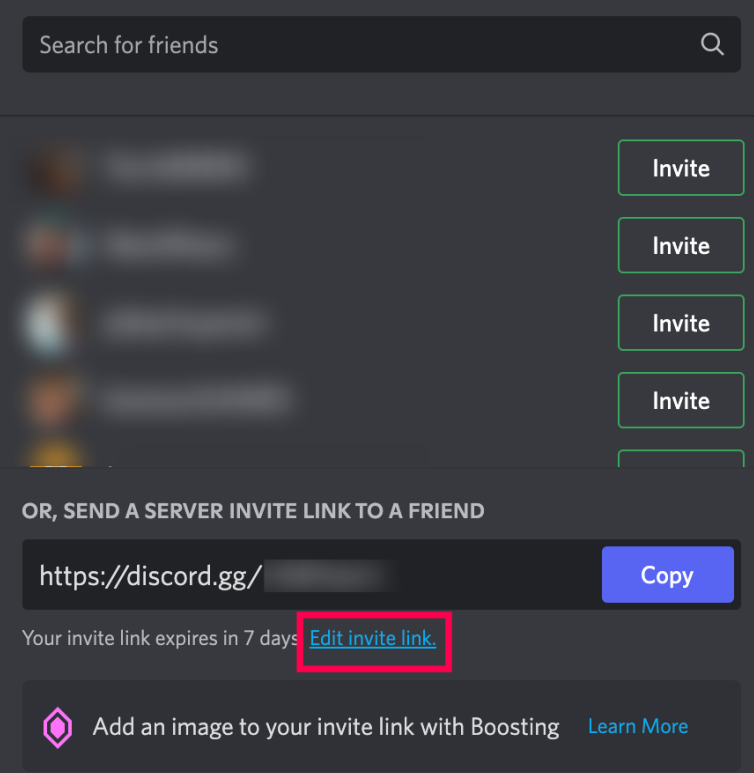
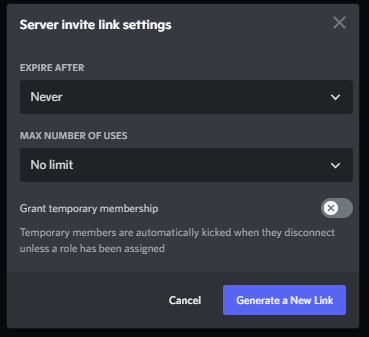
2b. How to make Discord Invitation Link?
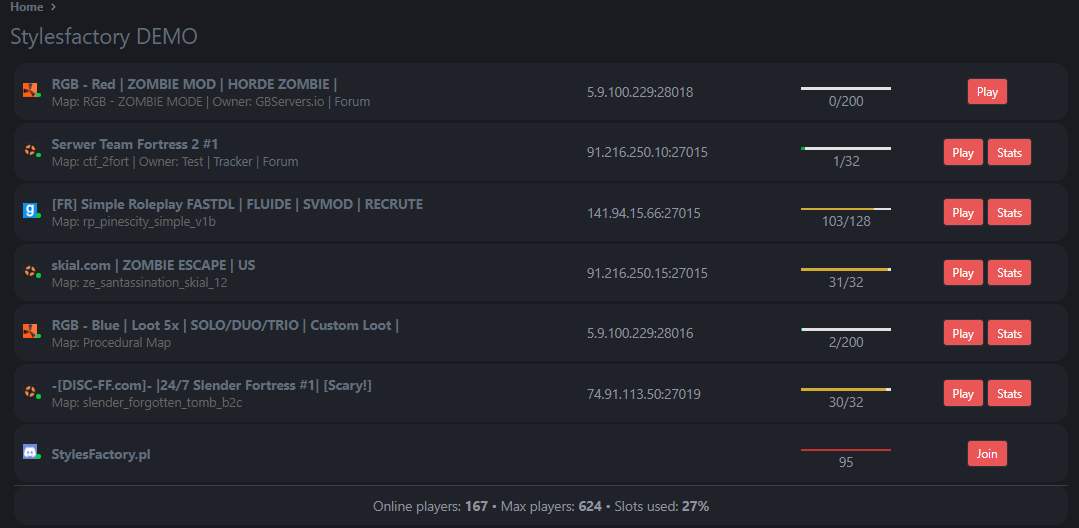
3. Your Discord server is visible now in your Server List
How to add a server?
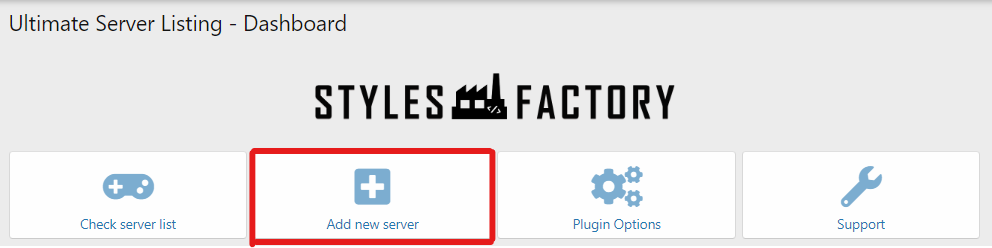
- Go to "Server Listing" options panel and click "Add new server"
2. Example:
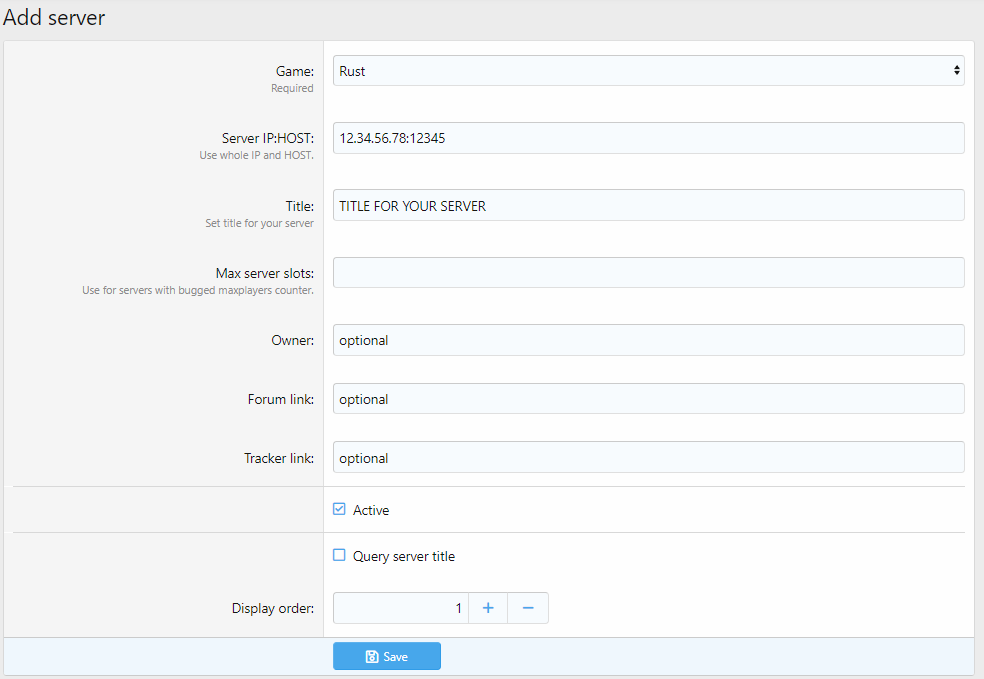
2a: Active - add a checkmark if you want this server to be visible in the list.
2b: Querry server titele - add a checkmark if you want to query you server titile into server list.
3. If you set every setting correctly click "Save".
4. Your server should be visible in your list now.
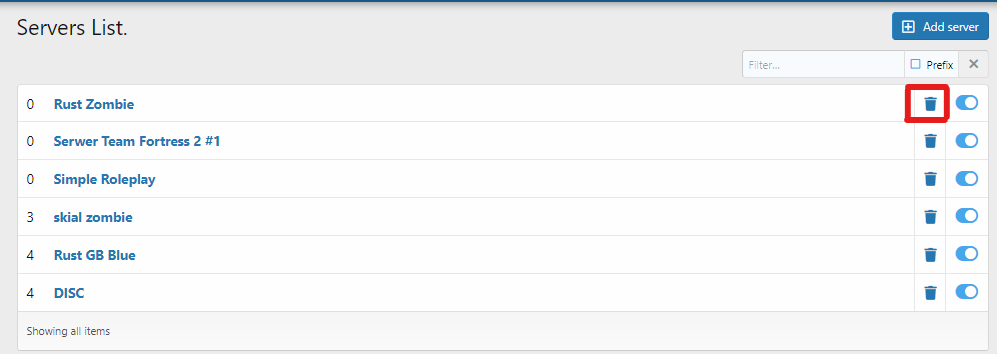
How to remove server?
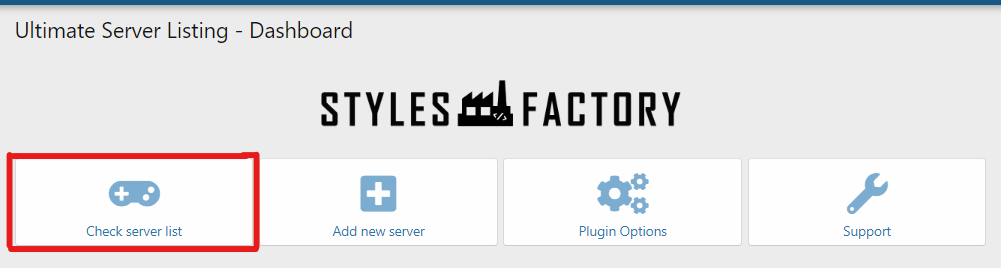
- Go to "Server Listing" options panel and click "Check server list"
2. On far right from server you see two options. Click on bin.
3. To make sure you want to remove this server there is additional confirmation needed.

5. Click "Delete" if you want to remove server.
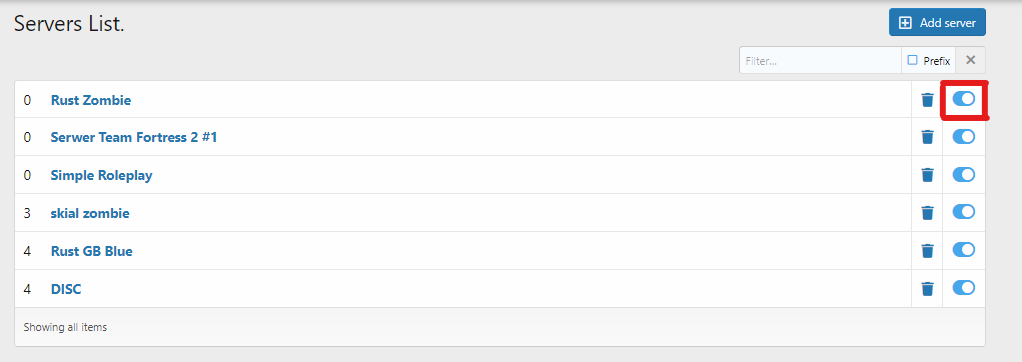
How to turn off server from the list?
- Go to "Server Listing" options panel and click "Check server list"
2. On far right from server you see two options. Click on toggle button.
After clicking that button wait few seconds and your server will be not displayed on widget/subpage anymore.
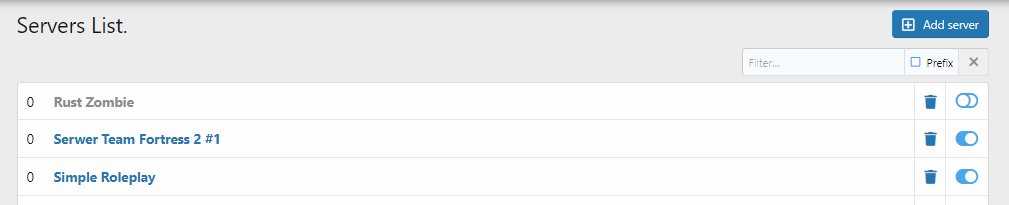
You can always switch it back!