Twitch Plugin configuration
How to configure Twitch Plugin in few steps. Most important features description.
In this article you will see all functionality of plugin and easy instruction how to setup it correctly.
- You need Twitch Plugin installed to make it work. Here you can learn how to install plugin.
- After correct installation you should see in your admin control panel
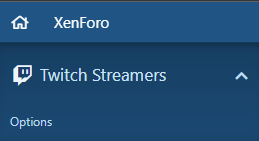
3. Click "Options" and go to "Plugin Options".
4. Click "Twitch plugin" checkbox to turn on plugin.
5. Set you license key in "License key" field. You can get license only by becoming Patron and making ticket in our discord channel.
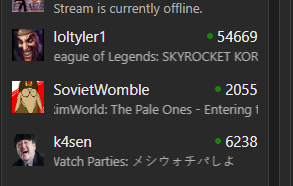
6. If you don't want to list Offline streamers click on "Show offline" checkbox.
7. "Scroll speed" option is for marquee effect for sidebar widget. By default we recommend to set it for 4.
8. "Keyword" option is for communities which want to show only these streamers with special tags in their stream title.
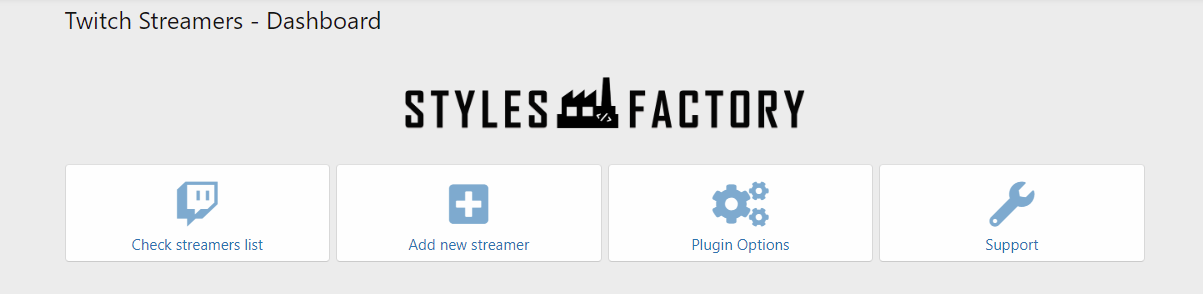
How to add streamer?
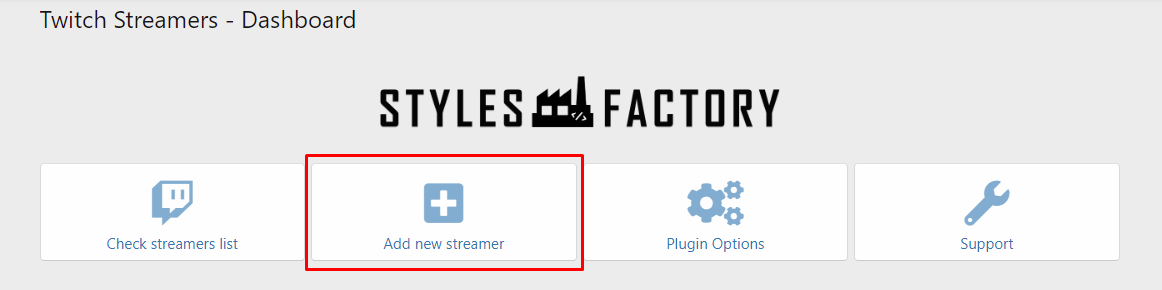
- Go to "Twitch Plugin" options panel and click "Add new streamer"
2. Example:
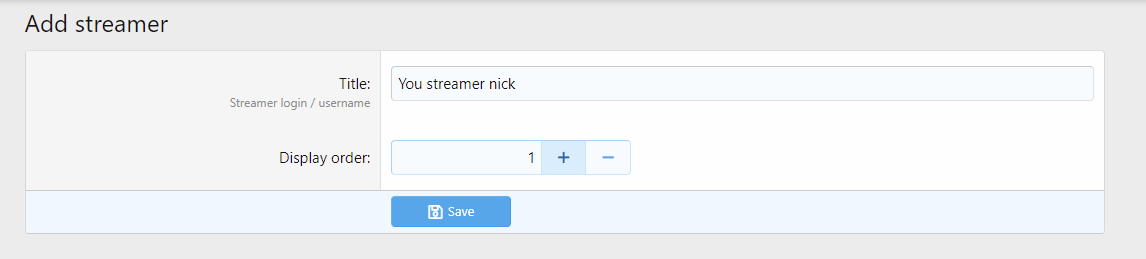
3. If you set streamer username correctly click "Save".
4. On your streamer list you should see new nickname.
IMPORTANT: after adding streamer please wait 60 seconds to make it load all data.
How to remove streamer?
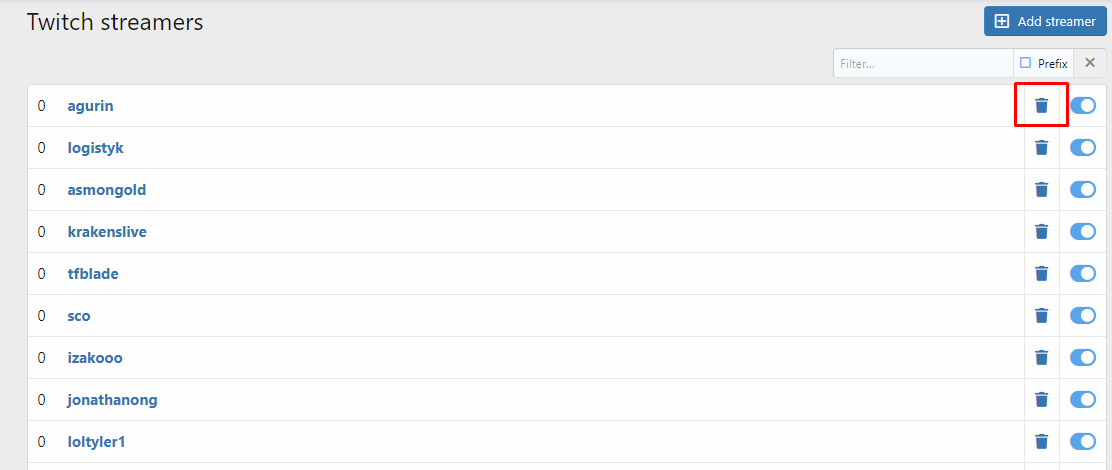
- Go to "Twitch Plugin" options panel and click "Check streamers list"
- On far right from streamers usernames you see two options. Click on bin.
4. To make sure you want to remove that user there is additional confirmation needed.

5. Click "Delete" if you want to remove streamer.
How to turn off streamer from listing?
- Go to "Twitch Plugin" options panel and click "Check streamers list"
- On far right from streamers usernames you see two options. Click on toggle button.
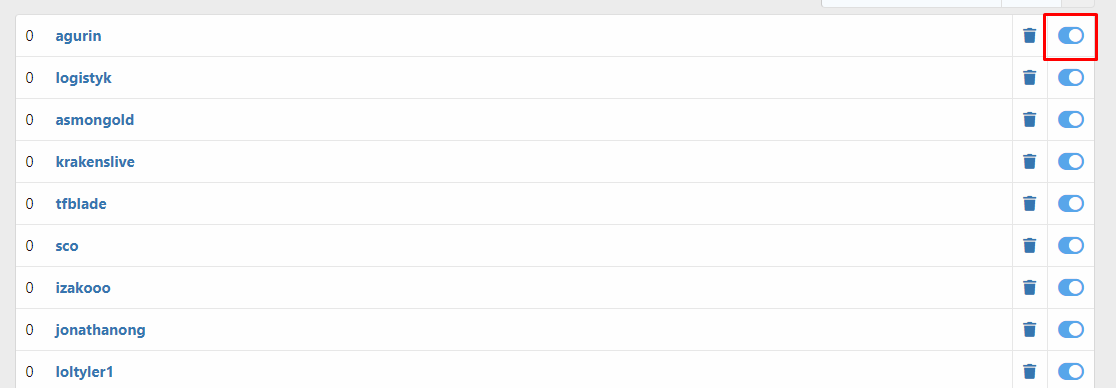
After clicking that button wait few seconds and your streamer will be not displayed on widget/subpage anymore.

You can always switch it back!